Practical skills for mosaic installation
By Rena▕ Nov 29, 2021
1. Prepare the substrate
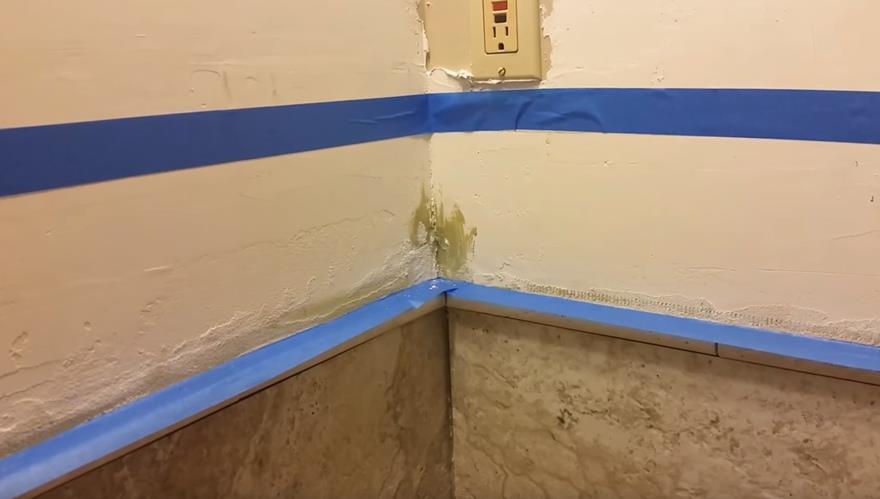
The substrate should be smooth, clean, dust-free and waterproof.
If you take the waterproof measures, remember to do it at least one day in advance.
Generally the waterproof coating will completely dry after 24 hours.
If there is dust on the wall, you can apply a layer of varnish first, and dry it after 24 hours.
If there is a socket, remove the panel of the socket and install it after the paving is completed.
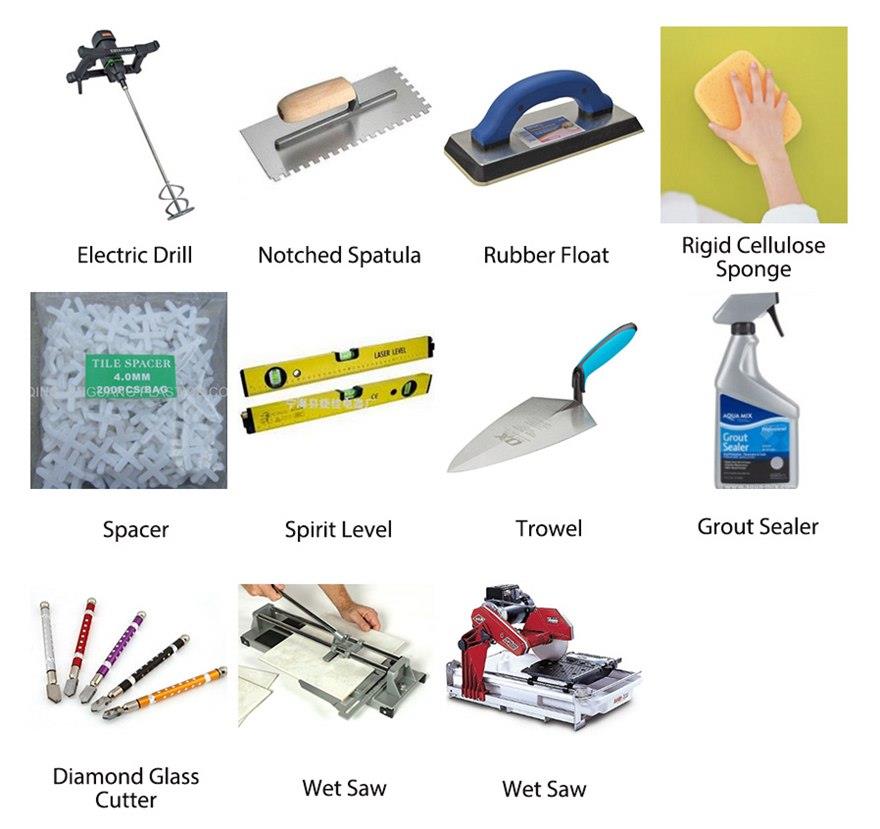
2. Prepare for the tools and matetials
Materials:
Adhesive. Generally suitable for ceramic tiles. It is mainly white. It is better not to use cement.
Grout. Choosing the color matches the main color of the mosaic, and must be sand-free and soft material. You can directly use the adhesive.
3. Installation steps:
After confirming that the wall is flat and ashless, you can start paving.
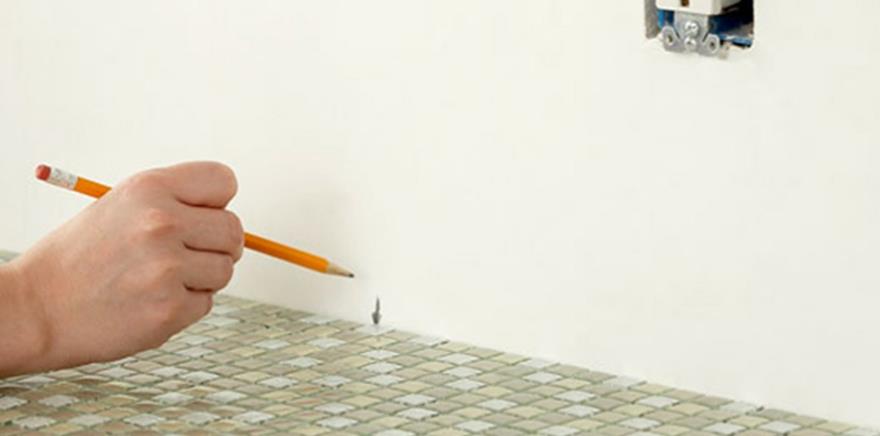
First, mark the position first. If the wall has an inner corner and an outer corner,
the horizontal line needs to ensure that the outer corner mosaic is complete and cut the inner corner only.
If it is for kitchen backsplash, it needs to ensure that the mosaic at the vertical line which touches the countertop is complete.
Please make sure that the quantity of the mosaic is enough.
And please be careful to disconnect the power of the outlet before installation.
Mixed adhesive. Adhesive generally sell in barrels. You can use this bucket directly. You should add water according to the proportion on the package.
Remember do not add too much water at a time, a little bit is ok. Mortar will be very sticky, you can be mixed with a electric drill or a trowel.
Also note that if the place is large, such as a swimming pool, don't mix too much at a time, because the mortar has about four hours of work time,
and the outdoor will be shorter.In addition, prepare a bucket of water, when you rest, you can put the trowel in the water, or it will be difficult to wash.
You need to scrape the adhesive on the wall from bottom to top.
The first sheet is installed at the side of the outer wall and at the bottom, then up and on the other side.
And it is better to use a tile spacer between each sheet to keep the seams from being misaligned.
Each patch should be flattened. It can be hammered with a wooden board or compacted with a rubber sheet. After 24 hours of paving, the joint can be filled.
Scraping the adhesive back and forth with an 45 degree angle to ensure that each joint is filled. Note that the tile spacer should be removed before filling the joint.
Wipe off the excrescent adhesive with a clean and large sponge. Note that you should wash the sponge before you wipe it each time.
Usually we will prepare a few buckets, to wash most of the grout in the first bucket, then wash in the second bucket, at last it will be very clean in the third bucket .
After the excrescent adhesive is cleaned, the grout is almost dry, but there is still a layer of residue on the surface. It should use a clean soft dry cloth to wipe off the surface residue.
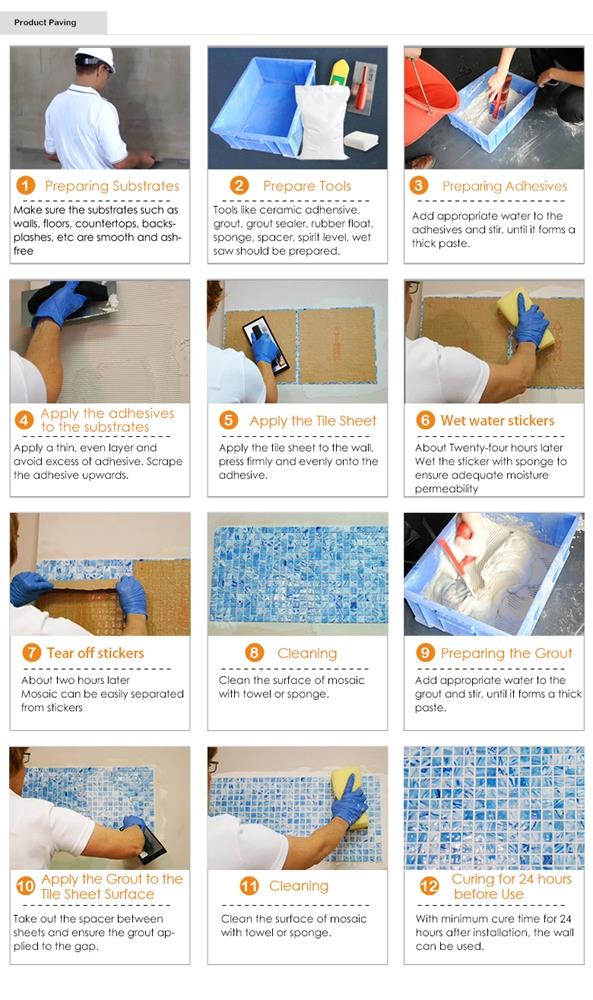
Here is the full process for mosaic installation:
Ok, today’s sharing is over. I hope everyone can find their favorite shape design. Everyone finds the favorite kitchen baffle mosaic and makes their own dream house.
We will not be regular in the future.We will keep updating about the mosaic knowledge sharing, please feel free to pay attention to our official website and SNS account.
Hope the tip can help you learn more from mosaic installation!

 English
 Español


